Create Tickets
When a customer messages you over a channel which is fetched by Zammad, a ticket is created automatically (except Zammad recognizes it as a follow-up, then it gets added as an article to an existing ticket). However, there might be cases where you need to create a ticket manually. Examples:
A customer calls you by phone.
You receive a paper letter from a customer.
A customer comes to a physical service desk.
You proactively have to inform a customer by sending out a message.
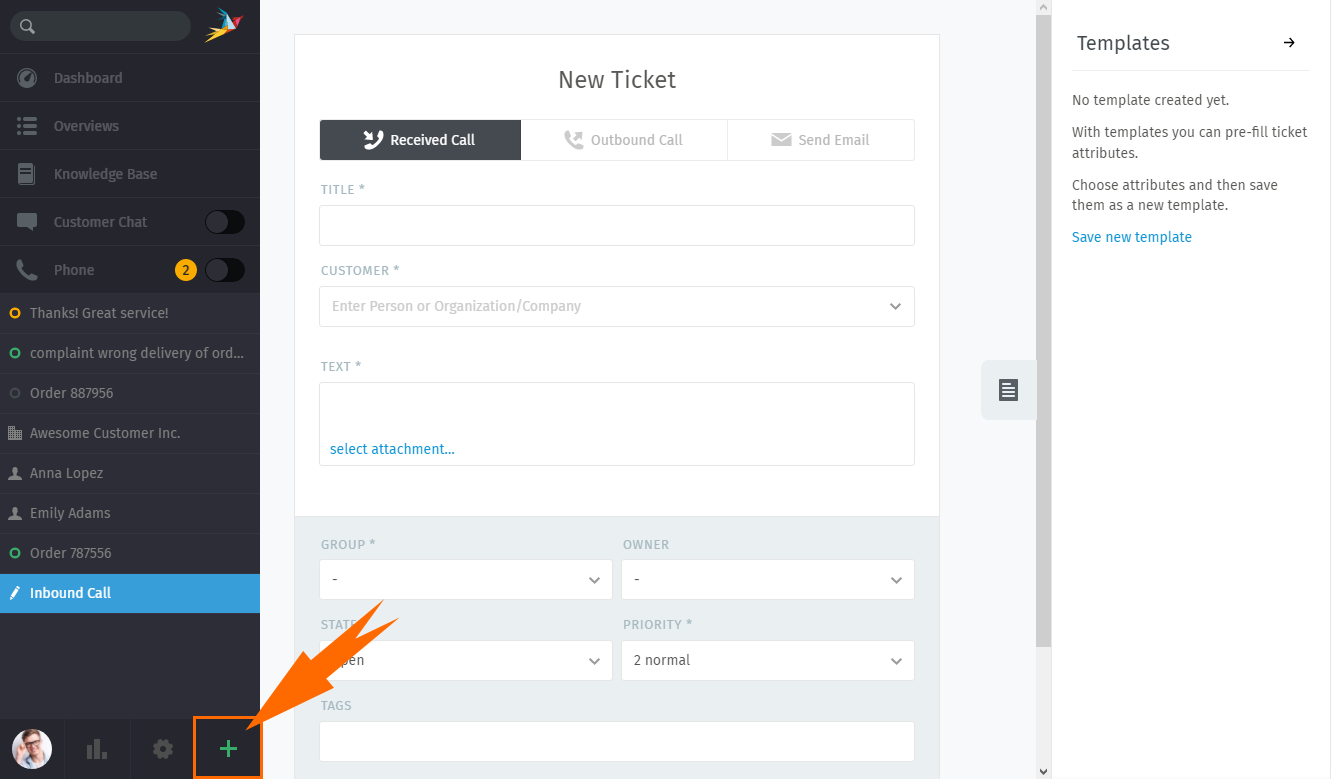
In situations like these, you need to create a new ticket manually and click the
+ button at the bottom of the navigation bar. This shows a ticket create
screen where you can add all needed information.
Type
In the ticket create dialog, you can choose from different article types:
Received Call: for issues initiated by a customer over the phone.
Outbound Call: for issues initiated by an agent over the phone.
Send Email: for issues initiated by an agent over email.
When choosing Send Email, the customer receives an email with the title as subject and the text as email content.
Title
This is the title of a ticket which is shown in many places in Zammad.
For example this gets displayed in overviews. It is also used as the subject
for email communication. For emails, a ticket identifier is automatically
appended (e.g. Ticket#901234 - I need help!).
Customer
Enter a name or email address of a customer to search for existing accounts.
You can even search for organizations and their members. Select an option from
the autocomplete menu or create a new customer by clicking the
+ Create new Customer button. This opens a dialog where you can provide
all relevant information of the customer. A ticket can only have one customer.

Ticket creation with customer suggestion based on search.
After setting a customer in the ticket create dialog, the customer sidebar automatically opens. You can see additional customer information including a hint about the currently opened tickets of the customer.

Text
This is the content section where the currently known details of the issue gets written down. For the “Send Email” type, this is the content/message of the email.
The article editor is a rich text editor. This means you can:
Copy and paste (or drag and drop) formatted text, images and file attachments.
Apply formatting by using the built-in keyboard shortcuts or by selecting text and choose from the formatting options in the bubble menu. This menu automatically appears when selecting text and looks like this:

Use text modules by typing : : which can be a huge time saver.
Mention colleagues by typing @ @ followed by their name to ask a question or notify them.
Ticket Attributes
As you may know, there are additional ticket attributes such as group, priority and owner that you can set. If you haven’t read Ticket Basics yet, check it out to learn more.
After you provided the relevant information, finally create the ticket with a
click on the Create button. Read on
how to find tickets and
how to work with them.