Creating a Ticket
Zammad does its best to create tickets automatically when new customer issues come your way. But sometimes, there’s just no way for Zammad to know when an issue arrives – like when a customer calls on the phone.
In these cases, Zammad needs your help to create a new ticket.

Click the ➕ button to create a new ticket. The default ticket type is Received Call.
An agent can create three types of tickets:
- Received Call
for issues initiated by a customer over the phone.
- Outbound Call
for issues initiated by an agent over the phone.
- Send Email
for issues initiated by an agent over email.
Filling Out the Form
Here’s a quick run-down of each input field in the New Ticket form:
- Title
The title of the ticket will be used as the subject line for all email correspondences.
- Customer
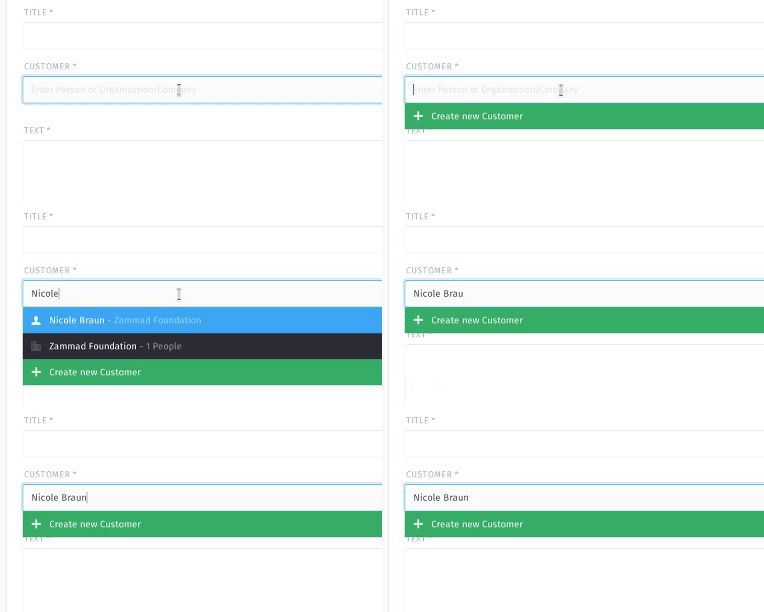
When entering a customer, the autocomplete menu searches for email addresses only. You must select an option from the autocomplete menu, or else create a new customer.
You may not assign a ticket to more than one customer.

Autocomplete can’t find customers by name.
Tip
🖱️ UI Protip
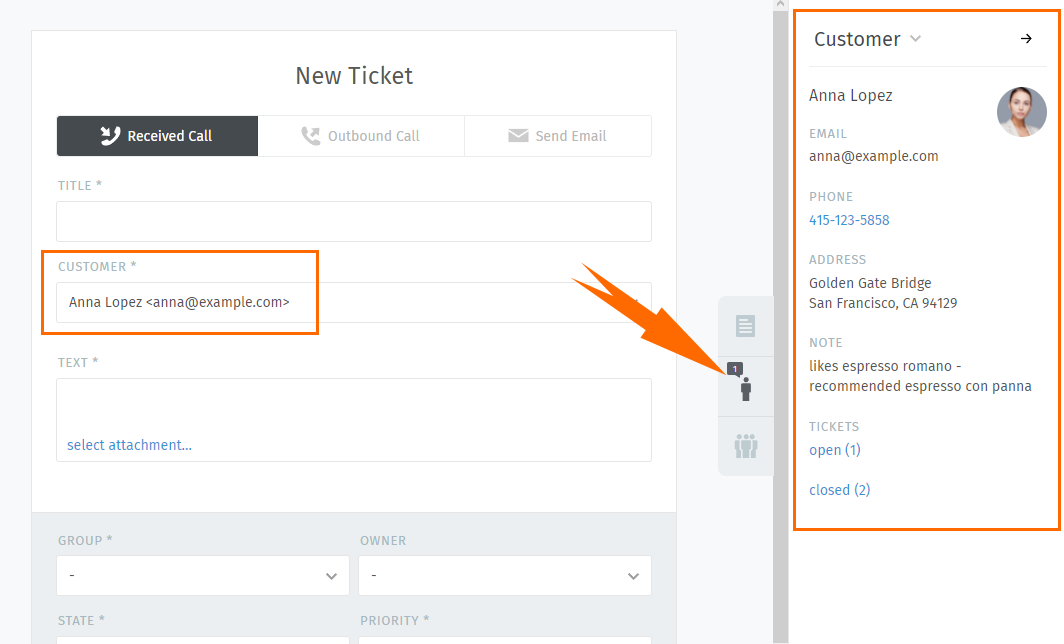
Once a customer has been selected, her profile will be accessible from the ticket pane.

- Text
📞 For phone calls, record the details of your conversation. These notes will not be sent to the customer (though he may be able to see them if he has a Zammad account).
📧 For emails, this is the body of your outgoing message.
Tip
🖱️ UI Protip
The message editor supports 📋 copying-and-pasting (or dragging-and-dropping) of 🔤 rich text, 🌄 images and 📎 file attachments.
Use the built-in keyboard shortcuts to apply rich text formatting.
Use the 🗊 icon next to the ticket title to copy the ticket number to your clipboard (including ticket hook; e.g.
Ticket#50071).
- Ticket Settings